IntelliJ에서 Springboot프로젝트를 생성하고 hello페이지에서 thymeleaf템플릿을 통해서 결과를 출력하는 예제 입니다.
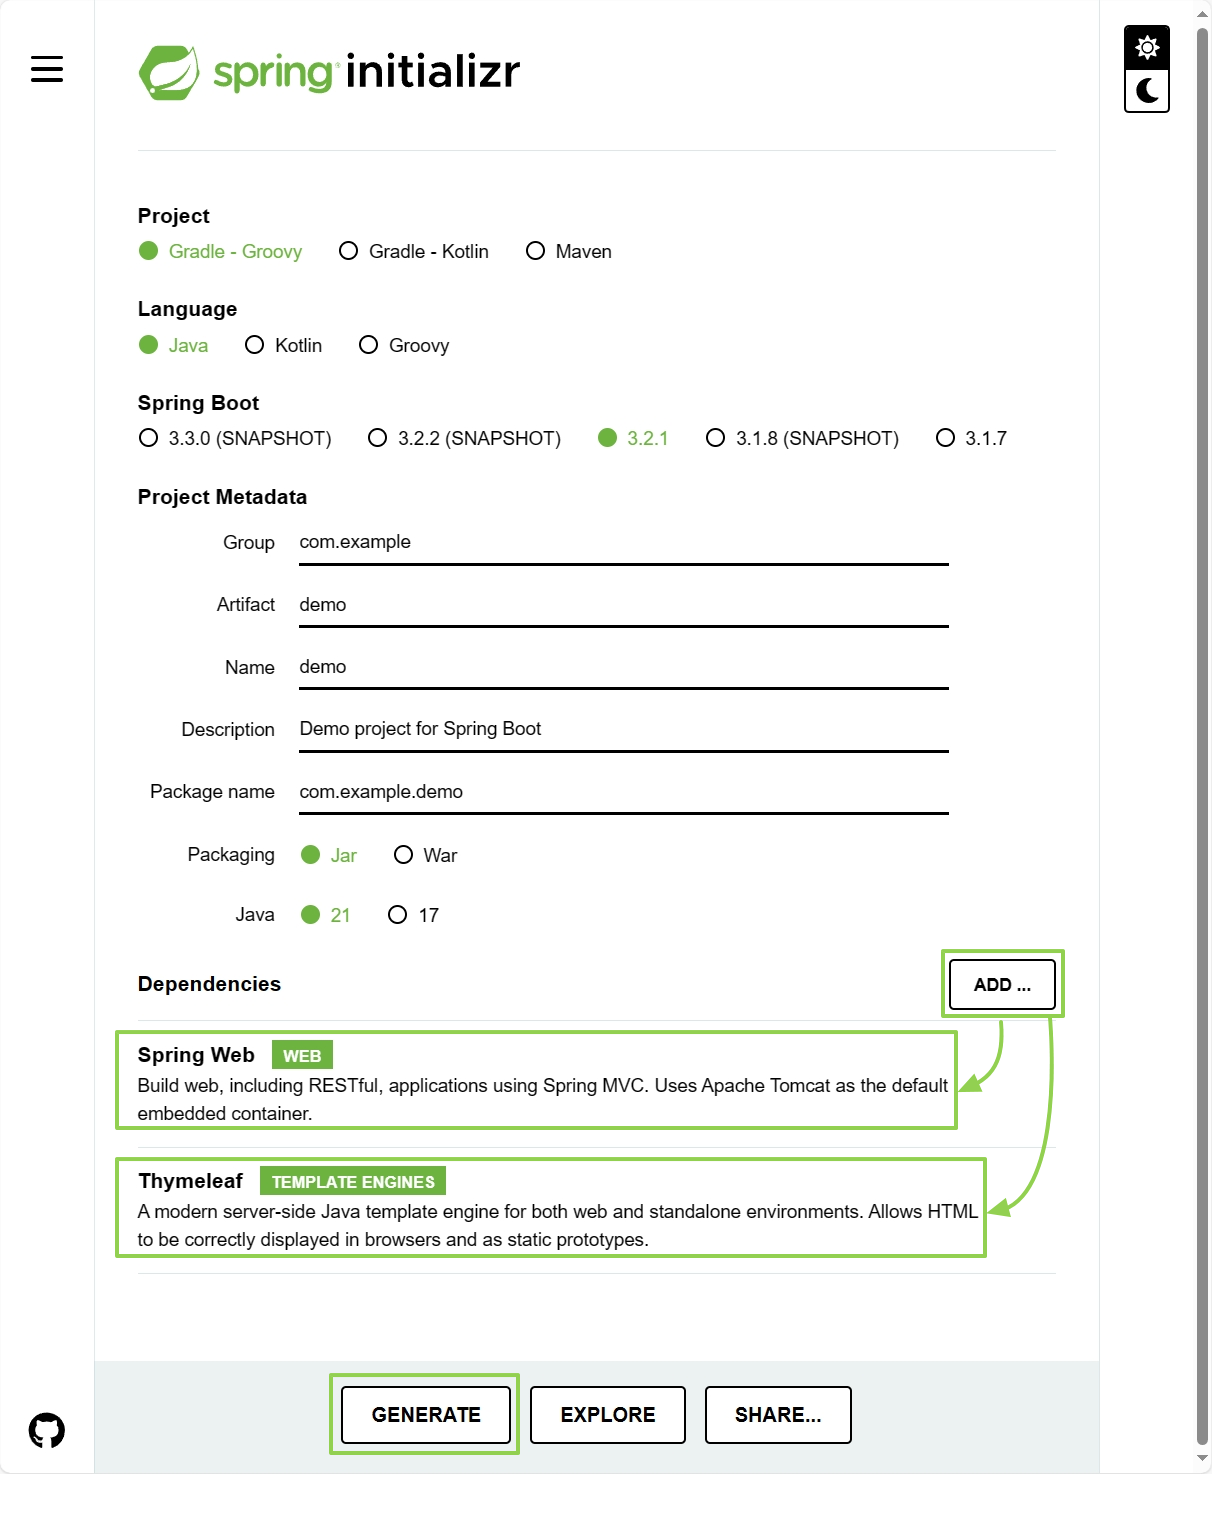
1. https://start.spring.io/ 에서 SpringBoot기본 프로젝트 구성합니다.
ADD버튼을 클릭 후 필요한 라이브러리를 추가합니다. {Spring Web:웹서버구성, Thymeleaf:Html템플릿 지원}
GENERATE버튼을 클릭하면 세팅을 베이스로 생성된 프로젝트를 다운로드할 수 있습니다.
2. 압축해제 후 인텔리 J를 실행하고 프로젝트를 오픈합니다.
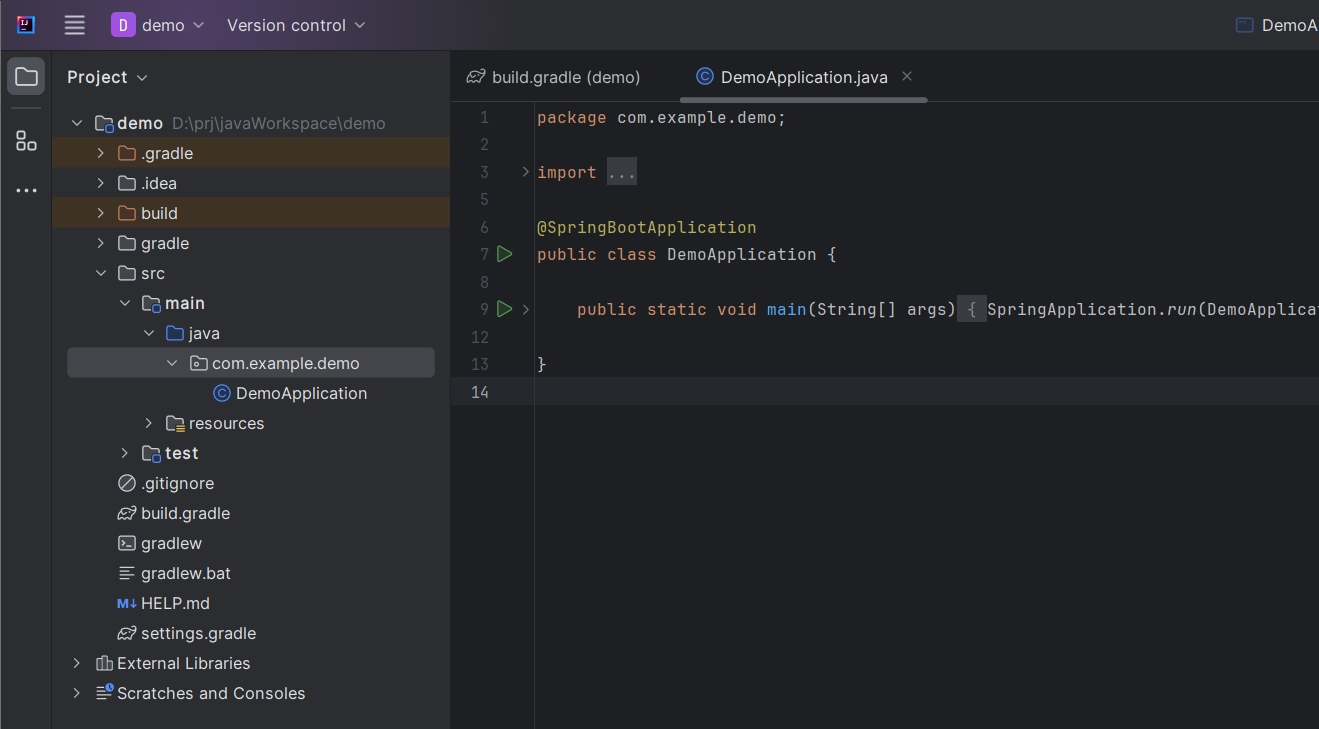
2. JDK가 설치되지 않았다면 다운로드합니다.
Settings창을 열어서 Download JDK를 클릭 후 다운로드 하시면 됩니다. 이미 다운로드한 JDK가 있다면 Add JDK를 클릭하셔서 직접 지정할 수도 있습니다.
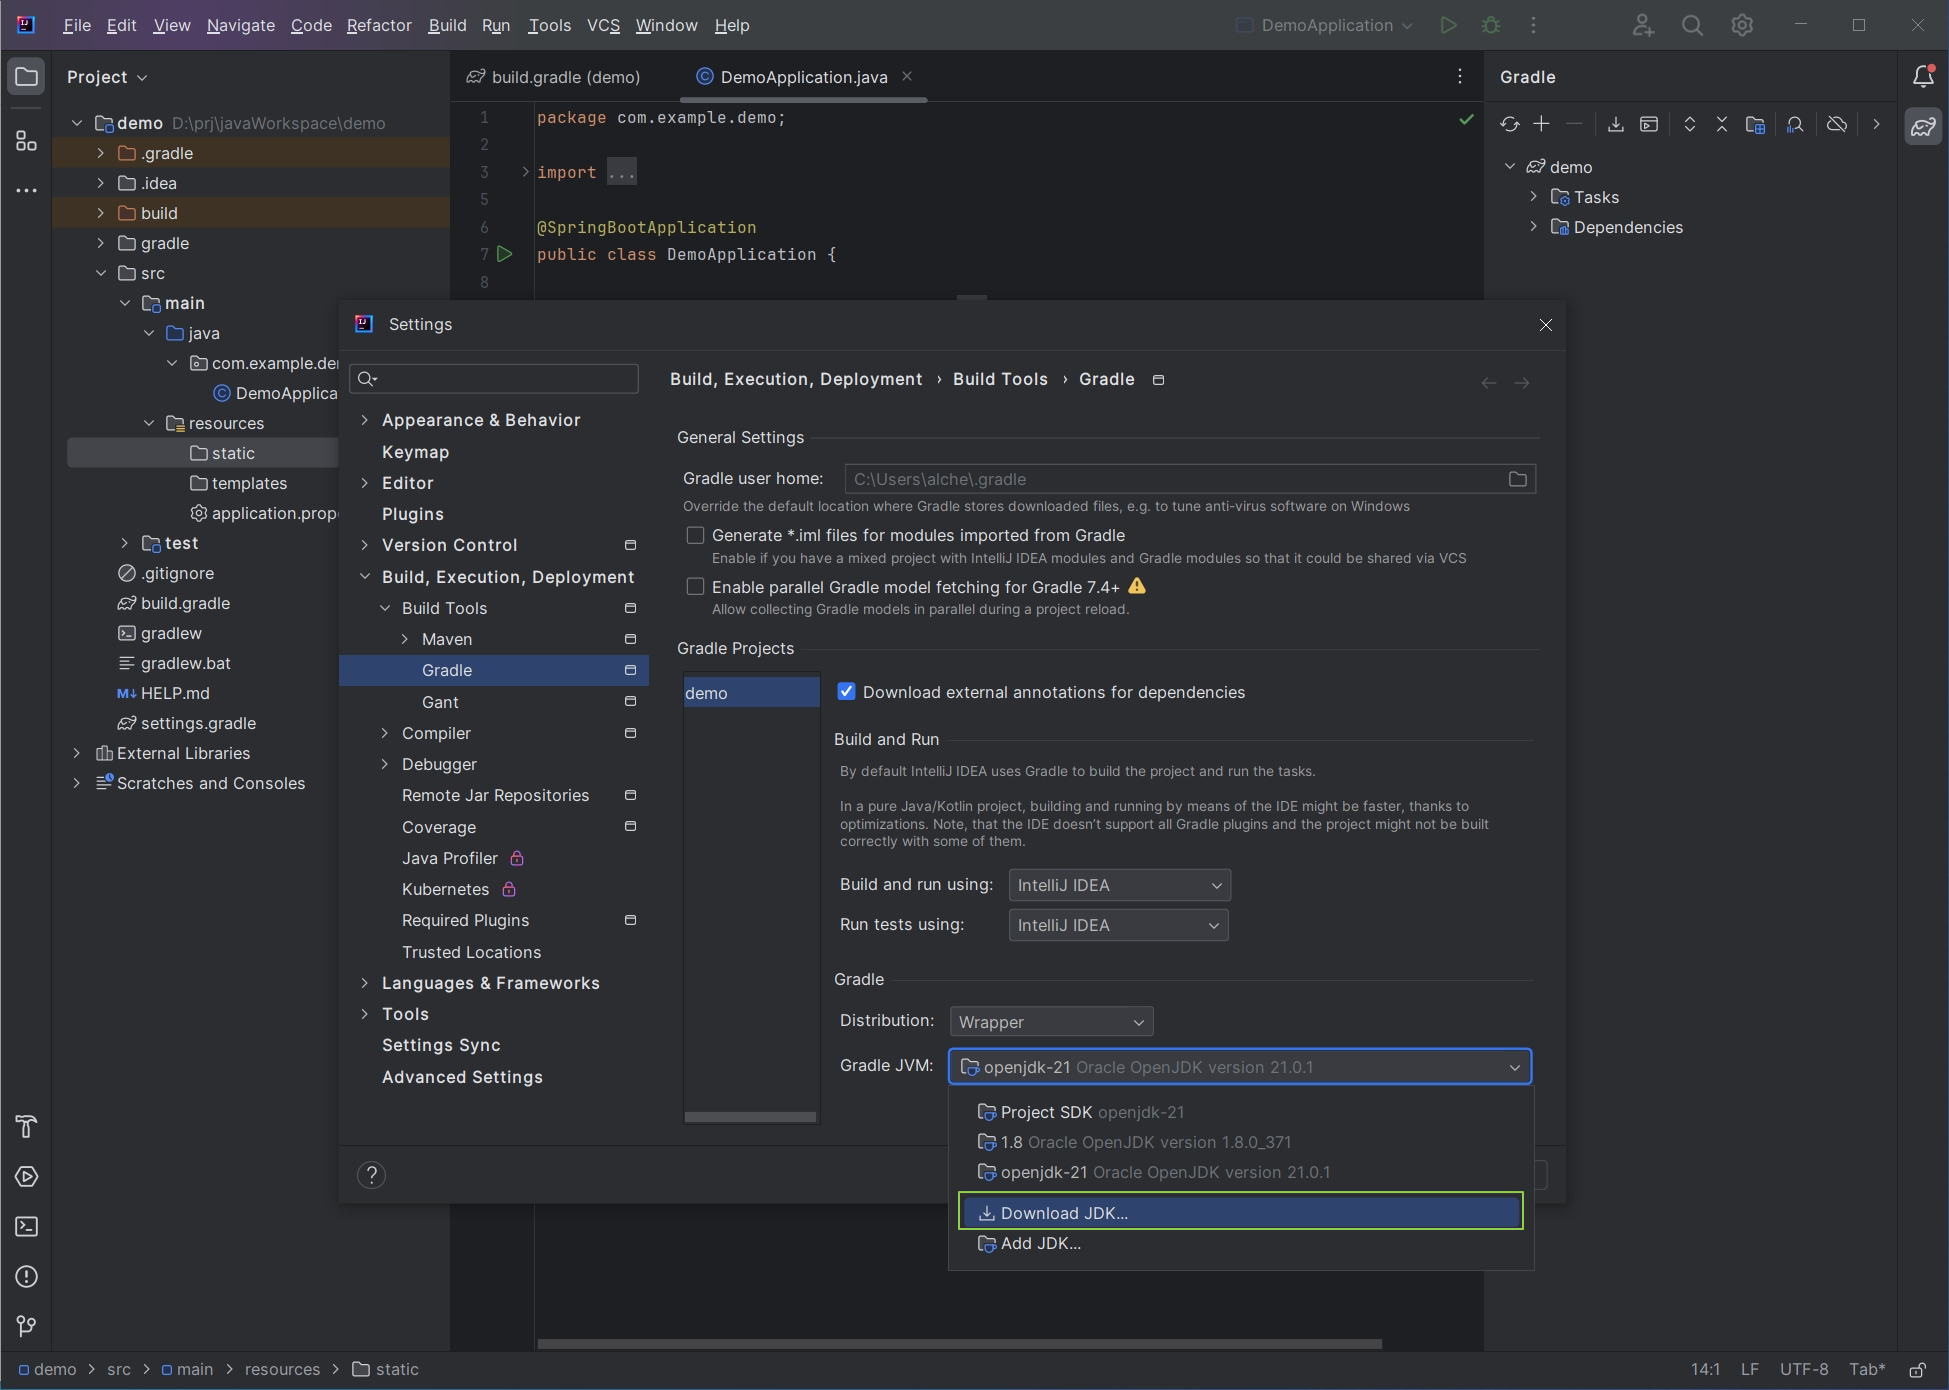
3. index.html파일을 생성합니다.

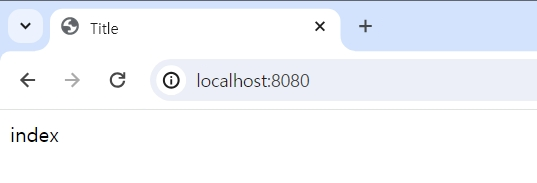
src/resources/static 밑에 index.html파일을 생성하면 http://localhost:8080으로 접속 시 첫 화면으로 인식합니다.
<!DOCTYPE html>
<html lang="en">
<head>
    <meta charset="UTF-8">
    <title>Title</title>
</head>
<body>
index
</body>
</html>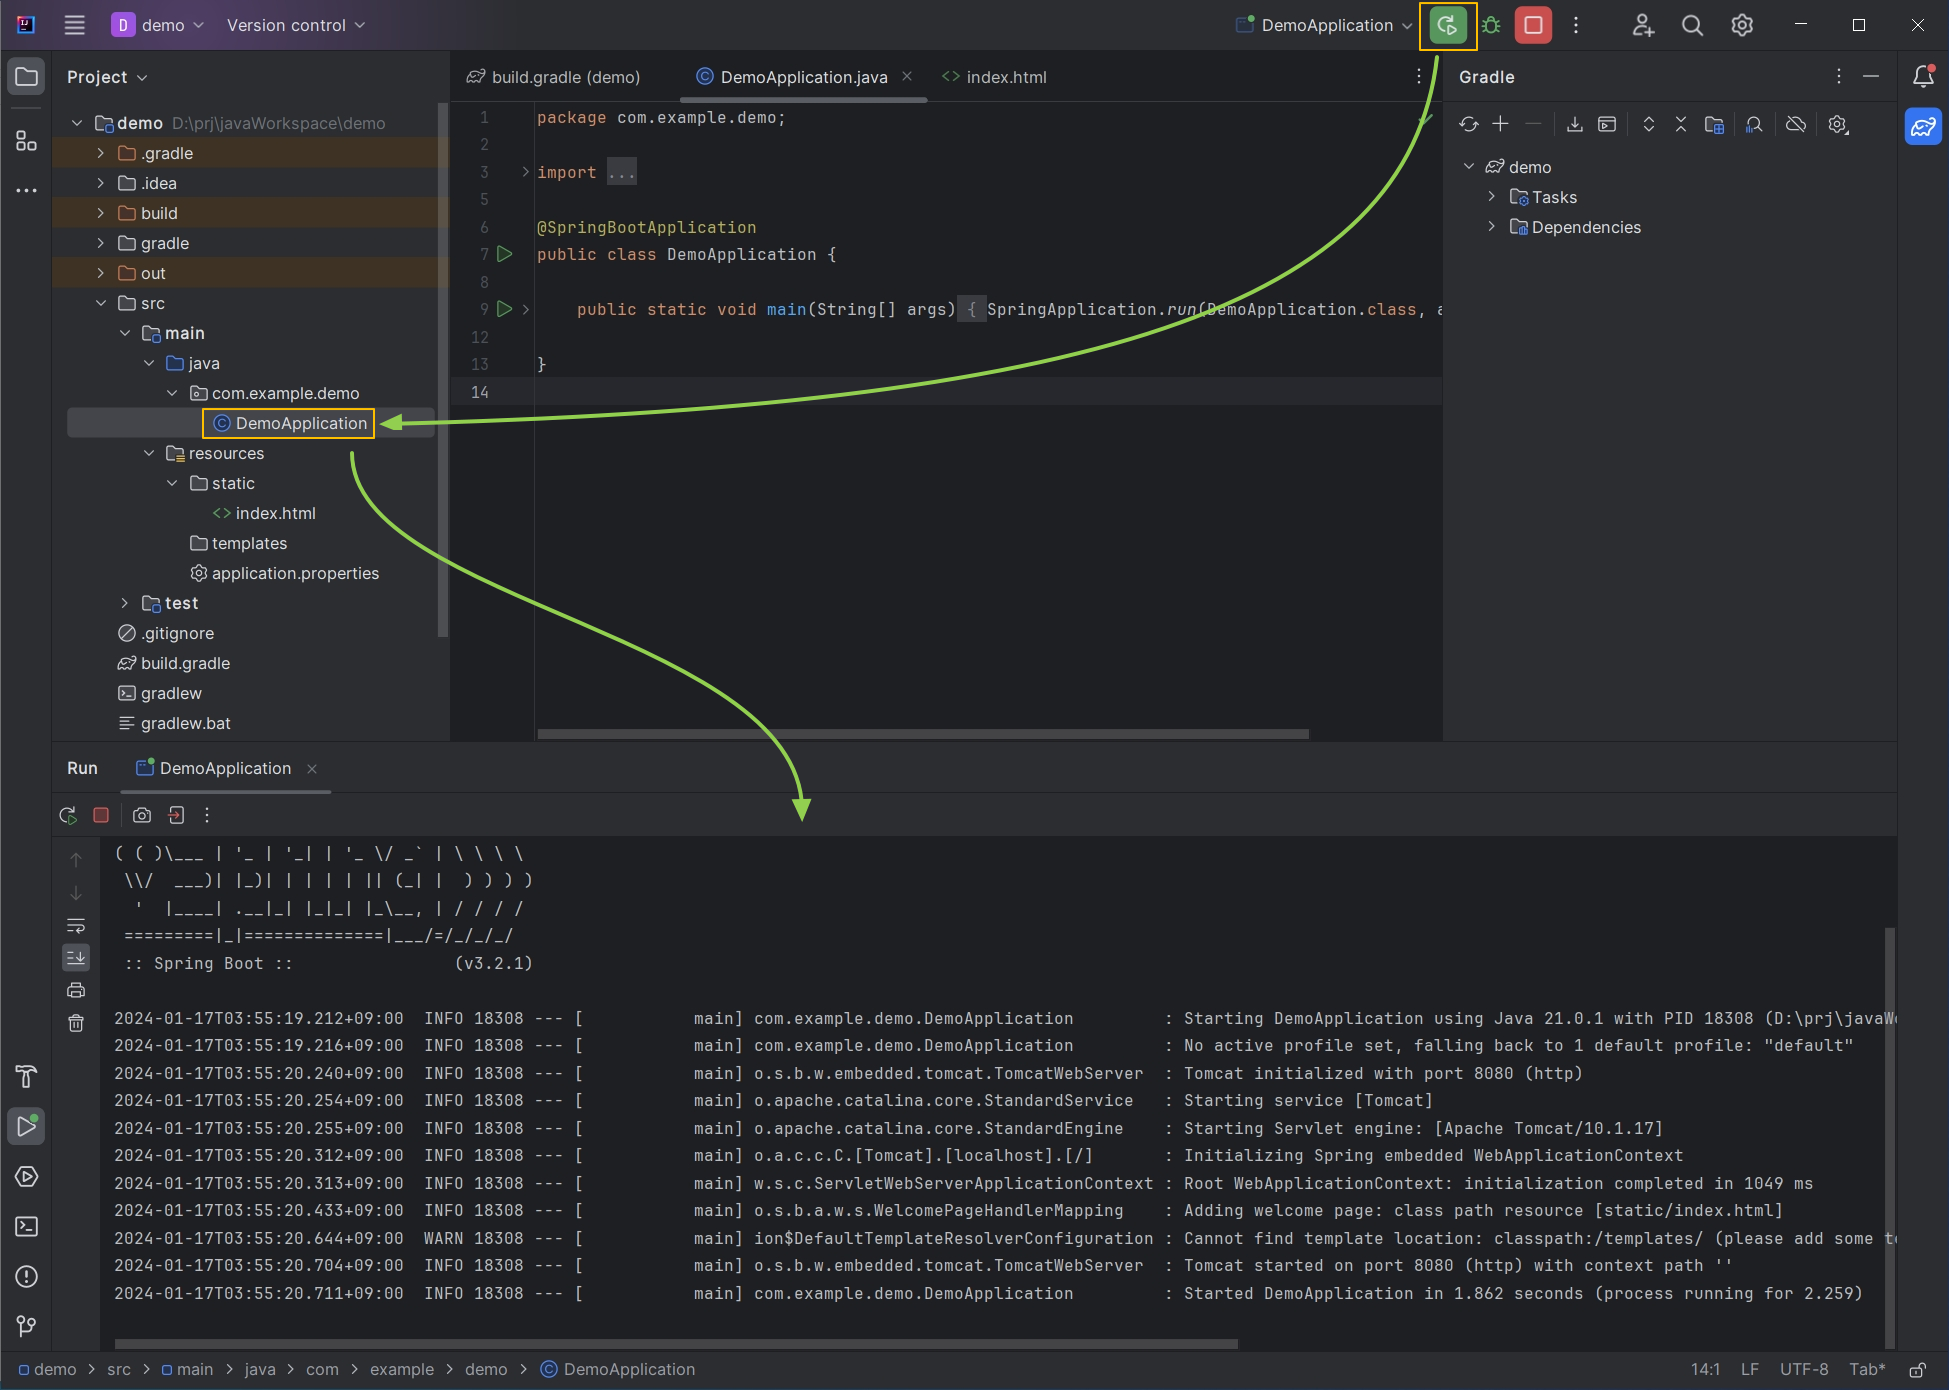
http://localhost:8080 접속해 보시면 html파일이 실행된 것을 확인할 수 있습니다.
4. Controller파일 생성후 HelloWorld페이지를 출력해 봅시다.
{ HelloController.java, hello.html } 파일을 생성합니다.
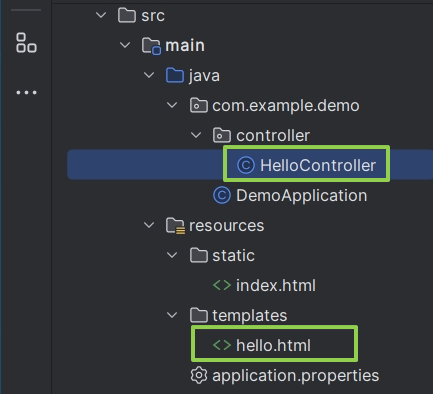
controller/HelloController.java
package com.example.demo.controller;

import org.springframework.stereotype.Controller;
import org.springframework.ui.Model;
import org.springframework.web.bind.annotation.GetMapping;

@Controller
public class HelloController {
    @GetMapping("hello")
    public String hello(Model model){
        model.addAttribute("data", "[ SpringBoot-ServerData ]");
        return "hello";
    }
}
templates/hello.html
<!DOCTYPE html>
<html lang="en">
<head>
    <meta charset="UTF-8">
    <title>Title</title>
</head>
<body>
<h1>Hello World!</h1>
<p th:text="'서버에서 받은 데이터 : ' + ${data}">
</body>
</html>
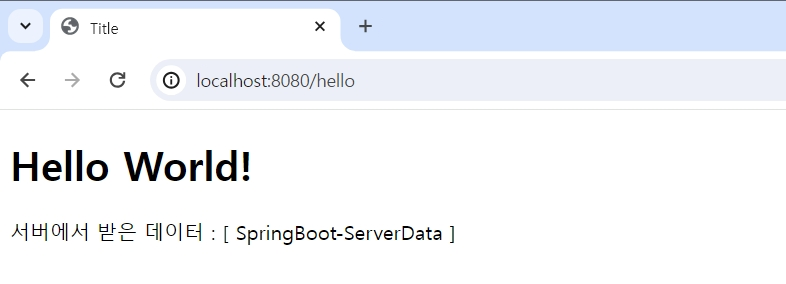
5. http://localhost:8080/hello 접속합니다.
HelloController.java컨트롤러에서 보낸 데이터가 hello.html 파일의 thymeleaf템플릿을 통해서 출력되었습니다.
'Java' 카테고리의 다른 글
| [Java basics 02] IntelliJ IDEA에서 Java 파일 실행 및 디버그 모드 활용 (48) | 2024.04.03 |
|---|---|
| [Java basics 01 ] 처음 시작하는 Java프로젝트 생성 삭제 (16) | 2024.04.03 |
| Springboot 02 - Controller출력 다양한 형식 (2) | 2024.01.18 |
| 이클립스 최신버전 다운로드 {유목민 알폰스} (1) | 2023.11.02 |
